Pici with Mushroom and Walnut Bolognese
- Average
- 3 h 10 min

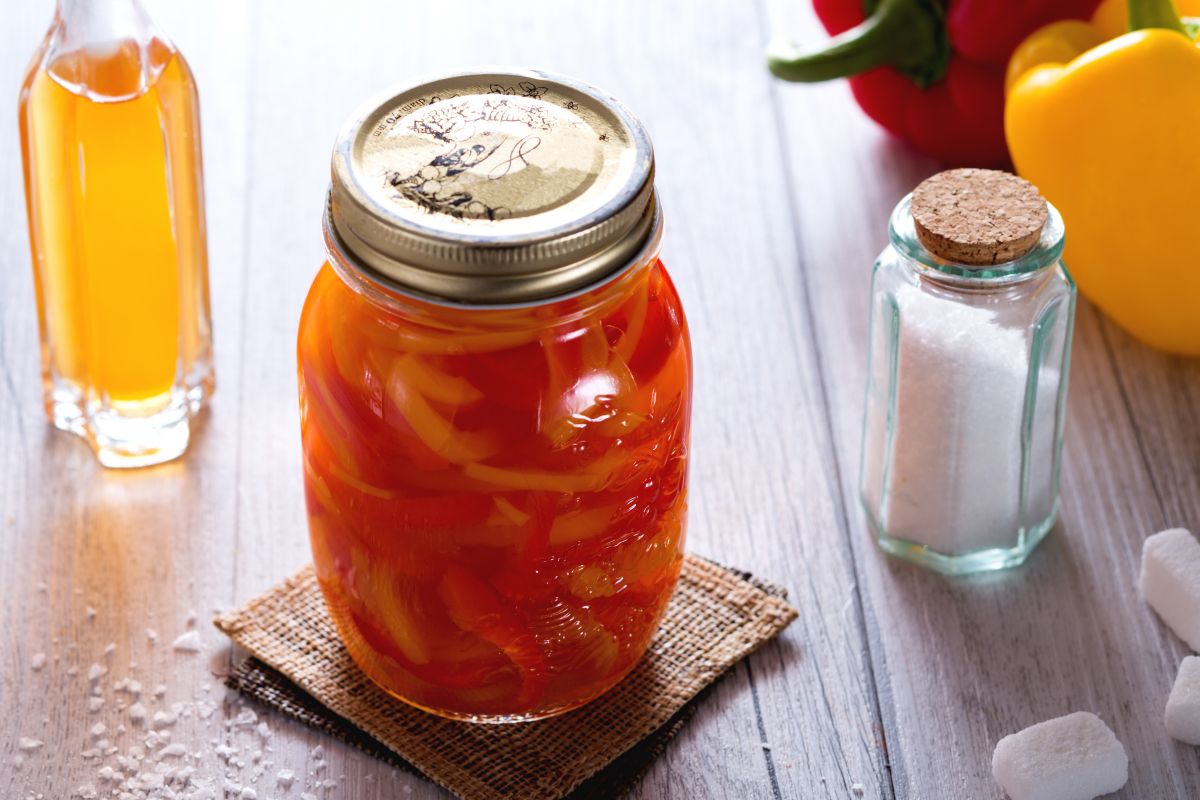
Sweet and sour peppers are a versatile and tasty dish, to be served as an appetizer with crunchy crostini or as a side dish to meat and fish, enhancing even the simplest dishes. Undisputed stars of the summer season, peppers are among the most loved vegetables for their sweetness, good raw to enrich a salad, but also excellent cooked, as in the baked version with capers or to season tasty first courses, such as pasta with pepper cream. And when they are abundant, the solution has always been traditional preserves, perfect for enjoying vegetables out of season. Dust off your glass jars and get ready in the kitchen; from today, your pantry will be even richer and more colorful with sweet and sour peppers!
Here are other recipes with peppers not to be missed:

To prepare sweet and sour peppers, start by sanitizing the jars and lids (referring to the guidelines by the USDA, see at the end of this recipe). While the jars are boiling, wash and dry the peppers, remove the stem 1, remove the seeds and inner filaments 2, then divide them into 4 parts 3.

From each quarter, cut thin strips (4-5). Then, in a large pot, pour the apple cider vinegar 6.

the sugar 7, the salt, and cook everything on low heat, stirring occasionally. When the sugar and salt have dissolved, add the peppers 8 and cover with a lid. The peppers should cook but not fall apart: it will take about 20 minutes, but check after about fifteen minutes because the time may vary depending on the meatiness of the peppers. Once ready 9

drain them, collecting the cooking liquid in a bowl 10; let them drain until completely cooled, it will take at least a couple of hours. Now jar the peppers without filling them to the top (leave 0.8 inches from the rim) 11, cover them completely with the now cold cooking liquid 12, the liquid should exceed the vegetable level by at least 1/5 inch.

To prevent the food from surfacing from the liquid, it is recommended to use plastic spacers to be inserted inside the jar 13. Close the jars tightly by screwing the lids carefully 14 and proceed with pasteurization, i.e., boiling the jars, always respecting the guidelines of the Ministry of Health found at the end of the sheet 15. Always check that a vacuum has formed: pressing the center of the lid, you should not hear the "click-clack" sound.