Sweet Halloween roll
- Average
- 1 h 40 min

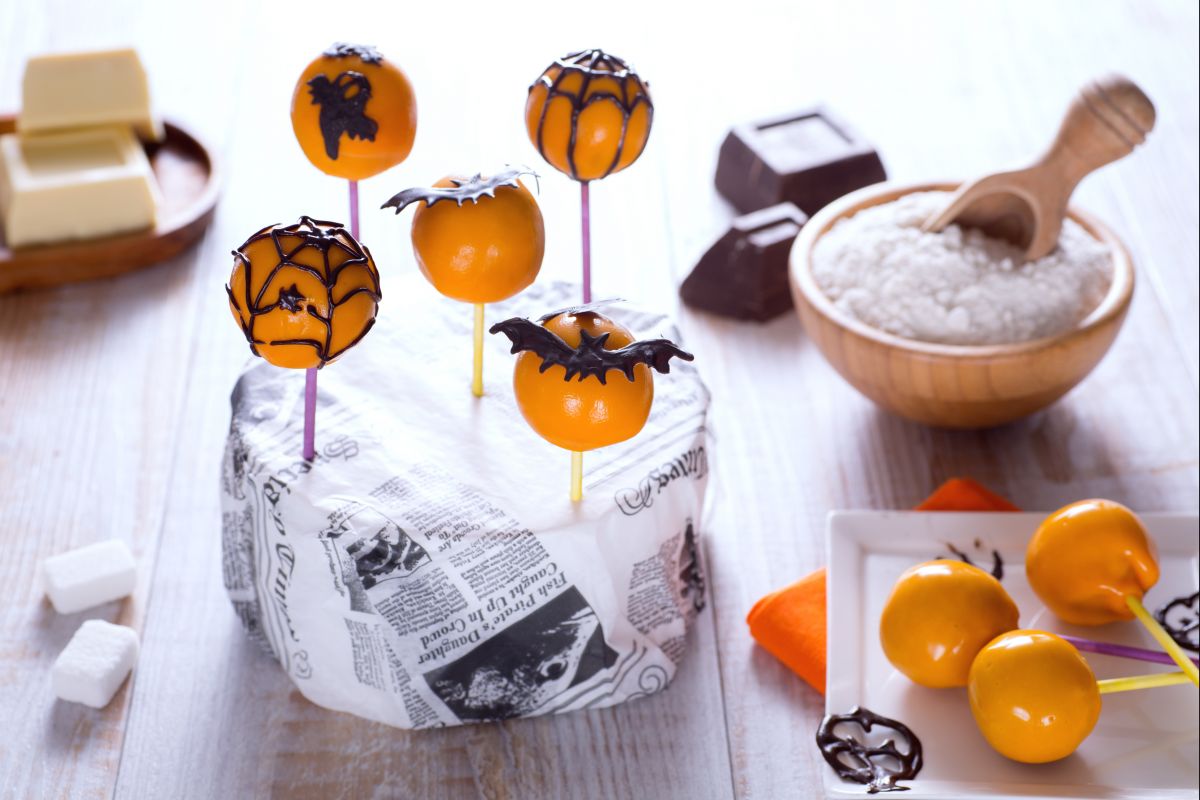
October 31st is approaching, and delicious themed treats will brighten your children's Halloween parties! Today we invite you to prepare Halloween cake pops with condensed milk! A perfect recipe to involve the little ones in a fun preparation: from the base of a crumbled cake, you'll magically create soft balls to stick on a stick, like a lollipop. They will be perfect to dip in a vibrant orange-colored chocolate glaze. And then the most fun part: decorating the Halloween cake pops with condensed milk with spiderwebs, ghosts, or cheeky bats... how will you decorate them?

To prepare the Halloween cake pops with condensed milk, start by preparing the base dough. In a large bowl, beat the room-temperature butter with the sugar at medium speed using a hand mixer 1. While continuing to beat, add the eggs one at a time 2 and 3 oz of condensed milk 3.

Sift the flour and baking powder into the bowl gradually 4: using a spatula, mix the ingredients 5, stirring thoroughly: you should get a creamy and fairly dense mixture. At this point, butter and line with parchment paper a 6-inch diameter pan: pour the mixture you obtained into it 6.

Level the mixture and bake in a preheated convection oven at 340°F for 30-35 minutes (if using a static oven, bake at 375°F for 40-45 minutes) 7. At the end of baking, check the cake's doneness with a toothpick before removing it from the oven. Once baked, you can remove it from the oven and let it cool slightly. Then, remove it from the pan and detach the parchment paper 8. Let it cool completely, then cut it into slices 9.

Coarsely crumble each slice into a rather large bowl 10. Then add the remaining 5 oz of condensed milk 11 and start kneading with your hands 12.

You should get a homogeneous and very compact dough 13. Line a tray with parchment paper and place the dough balls on it as you make them: take a piece of dough weighing 1 oz and create a sphere by rolling it between your hands; you will get 20 balls 14. Keep them at room temperature and proceed with the glaze for decorating: finely chop the white chocolate 15.

Place the chocolate in a bowl and melt it in a double boiler 16, stirring occasionally with a whisk to melt it 17; it's important that the water in the pot does not touch the bottom of the bowl in which you have placed the chocolate to melt. Heat the cream in a separate pot for a few minutes, without bringing it to a boil, and when it's hot, transfer it to a small bowl and add a few drops of orange gel food coloring 18: you can adjust the color based on the shade you want to achieve. Mix the food coloring well until you get a uniform color.

Pour the colored cream into the melted chocolate in the double boiler 19 and mix with the whisk until you get a uniform mixture 20. At this point, take the cake pop sticks and dip them halfway into the orange chocolate glaze 21: this will act as a 'glue' to attach the cake pop balls later.

Stick the dough balls: the stick should reach the center of the ball 23. Repeat the operation for all the dough balls and place them on a tray with the stick side facing up. Put them in the freezer to cool for at least 30 minutes. Then dip the balls in the colored glaze 24; do this very delicately to avoid the dough ball from crumbling. You can use a spoon to cover the top of the cake pop with the glaze as well. Let the excess chocolate drain over the pot, gently rotating the cake pop. It's not recommended to tap the stick to remove excess chocolate as this could cause the cake pops to break.

As you cover them with glaze, stick the sticks in a styrofoam base to let the chocolate glaze dry well 25: place them in the freezer to firm up for at least 1 hour. In the meantime, also melt the finely chopped dark chocolate in a double boiler in another bowl 26. When it's completely melted, transfer it to a pastry bag. Then draw bat or ghost shapes with a pen on the matte side of a piece of parchment paper. Flip the parchment paper over and use the pastry bag to trace the drawn shapes 27: let them firm up in the freezer for at least 20 minutes.

After this time, the cake pops will also be well firm and the glaze will be completely dry: take them out of the freezer and start decorating some cake pops with edible colored pencils, creating spider web patterns on the surface of the treats 28. On other cake pops, place the bat and ghost decorations using a spatula 29. Your Halloween cake pops with condensed milk are ready to brighten your little ones' parties 30!