Sourdough starter
- Difficult
- 0 min
- Kcal 227


Thanks to Gabriele Bonci today we will discover all the secrets of liquid sourdough. Also called levain (li.co.li, yeast in liquid culture) it is a natural yeast that long leavening bakery products can be made with. Mixing flour and water triggers a vital process, which starts, strengthens, regenerates and passes on ... but first of all, we must understand what the differences are with solid sourdough starter because this is the only way you can choose which is best suited to your needs. Liquid yeast, like the solid one, allows obtaining a better product organoleptically compared to bread, pizzas, focaccia and sweet leavened products made with brewers yeast; in fact the result will be more fragrant, digestible and will last longer. Compared to solid sourdough, liquid sourdough is easier to maintain and use. In addition, having a higher percentage of water, liquid yeast will be less acidic and will allow obtaining less dense alveolation and a lighter bread. As the days of fermentation pass and the refreshments are done, you will notice a very strong lactic (yogurt) smell, a bouquet almost of honey and flowers with a slightly acidulous note: these are the characteristics of a healthy sourdough starter! In conclusion, levain is suitable to prepare pizza or bread, for very hydrated doughs and for doughs that "must be made cold", i.e., mature in the refrigerator for more than 24 hours.
There are several ways to make liquid sourdough from scratch. The classic method involves mixing water and flour and letting the mixture mature, but the mixture can also have added starter cultures, which accelerate the fermentation phase. These in fact allow capturing the microorganisms that will be the "population" of our natural yeast; they can be ripe fruit, yogurt or honey. We chose to use raisins. As far as the flour is concerned, it is advisable to choose a type 2 flour, stone ground, where there are more nutrients to attract many microorganisms.

To prepare the starter first, rinse the raisins in hot water. Simply place the raisins in a sieve, place them on a bowl and pour hot water over them 1. Then shake the sieve inside the water a little bit, but very quickly, this way you will avoid the raisins softening and you will be able to clean them from dirt and dust. Drain the raisins 2, transfer them to another bowl and add 1.2 c. (150 g) of water at room temperature 3.

Let the raisins soak for 20 minutes, this way the fibers will soften and the enzymes will be activated in the sugar. At this point, with an immersion blender blend it all 4 without reducing the raisins too finely; it is important that some pieces remain intact 5. Pour in the flour 6

and stir with a spatula 7 or a spoon until everything is mixed. To make it easier, you can combine the flour in two parts. Using a rubber spatula, transfer the mixture into a clean glass jar 8. Cover with wet gauze so that it will stay on the jar better and close it with a rubber band 9. The gauze allows air to circulate but above all to let microbes in. Let it set in the jar at room temperature for 48 hours. After this time, fermentation will have started. You can then proceed with the refreshers.
Once the microorganisms are inside the mixture, you will have to freshen the starter for another 31 days every 48 hours, following the instructions on the sheet. By adding water and flour the microorganisms will feed on complex sugar, i.e., starches contained in the flour, and produce ethyl alcohol and carbon dioxide. This is exactly what will allow the volume to increase, i.e., the leavening.
For liquid sourdough the ratio of starter, flour and water is 1:1:1, i.e., for one part starter use the same amount of flour and the same amount of water.
A type 1 flour is used for refills; this is because though no longer necessary to use a flour rich in bran, still you need a flour that is very nutritious.

After 48 hours, once the fermentation has started, you can start refreshing. Take the starter 1 and pour 6 T (100 g) into a bowl 2; the remaining part of the starter will be thrown away. Then add .4 c (100 g ) of water 3

and .8 C (100 g) of type 1 flour 3. Stir with a spoon 5, until everything is mixed together 6. At this point, use a hermetically sealed glass jar and remove the rubber ring.

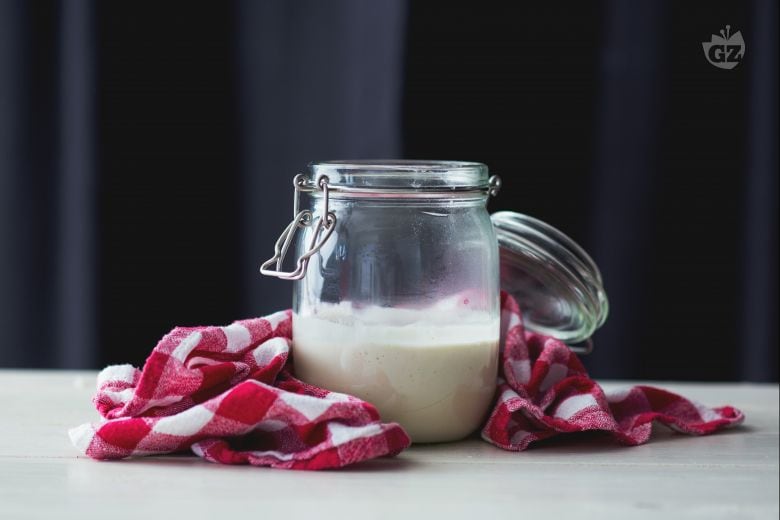
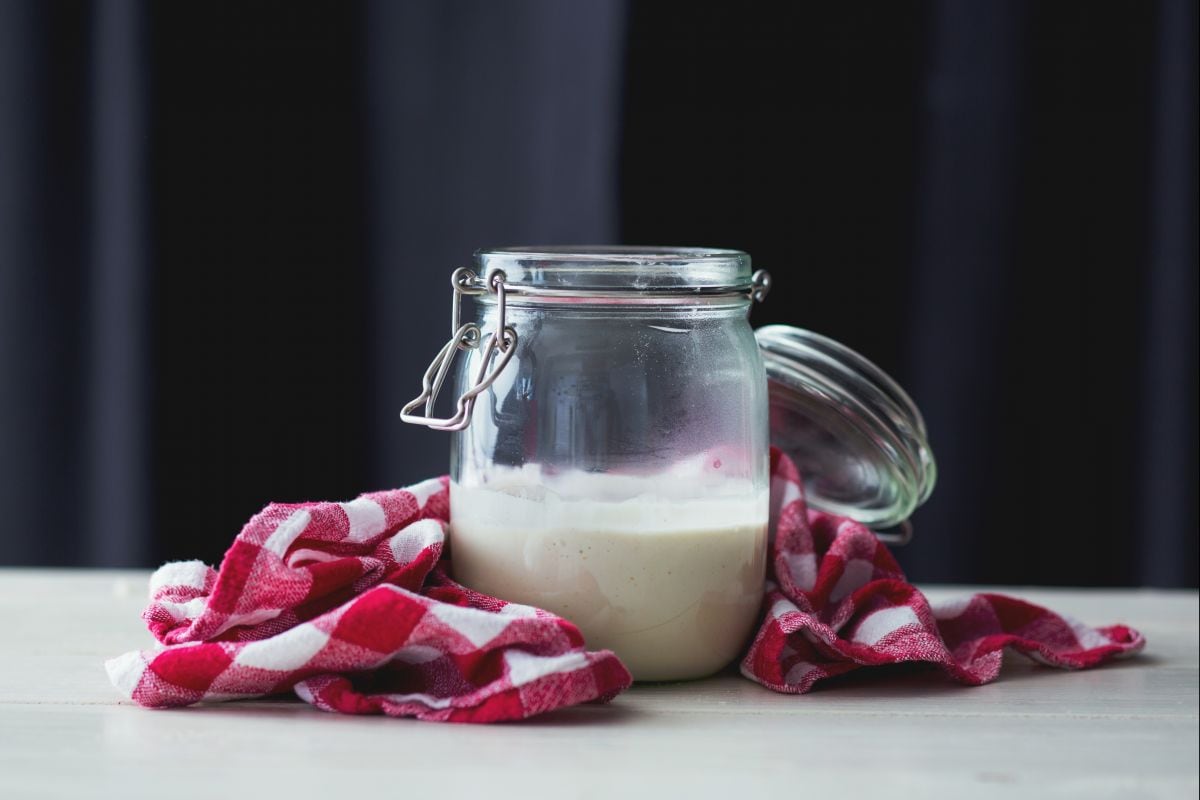
Transfer the mixture inside (7-8) and close the jar 9. This way the air will be able to enter and the gases produced by the yeasts will be able to escape, preventing the flour from separating from the water. If it happens anyway, don't worry, just stir.
At this stage, leave the yeast at room temperature: the most suitable one would be between 79-82° F (22° and 28° C), but if you can't keep this temperature constant don't worry. The temperature indicated in fact allows having the right degree of acidity, but it doesn't mean that at a lower or higher temperature the yeast does not ferment.
After 48 hours, repeat the same operation: refills should be made every 48 hours for the whole period of 30 days in a row.
If mold appears on the surface at this stage, you will have to start over.

On the 31st day the yeast will have reached maturity. But it will need some final refreshing before it can be used. This time put not just .45 c (100 g) of yeast but 2/3 c (150 g) 1 into a bowl; add the same amount of flour 2 and water 3 as before.

Mix again until everything is blended 4, put it into a jar 5, removing the ring, and close the hinge 6. Keep in the fridge and wait 24 hours before using the yeast for your preparations.