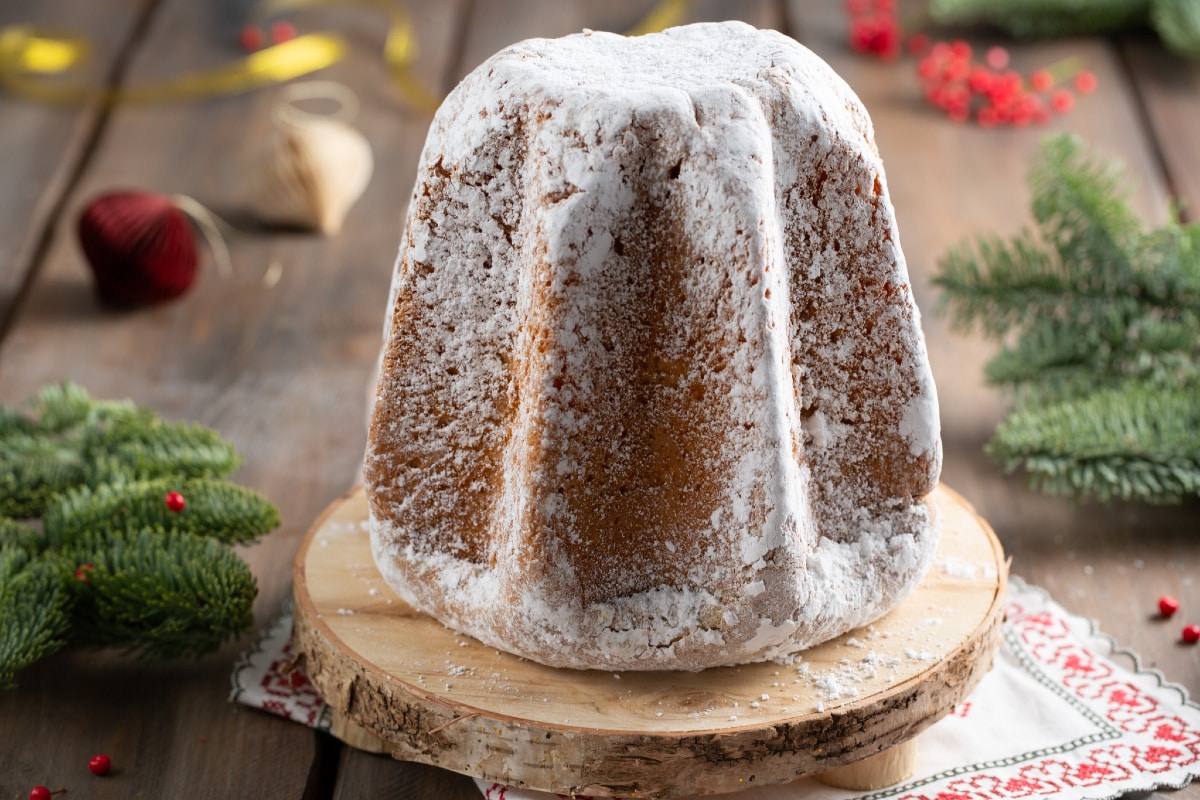
Pandoro
- Very difficult
- 2 h 30 min

The pandoro, along with the panettone, is one of the traditional desserts that absolutely cannot be missing from your Christmas recipes. If you have already tried your hand at making homemade panettone with sourdough, you just need to try pandoro with sourdough, perfect for enriching your holiday menu. A naturally leavened dough that will give you an incredibly soft dessert. The use of natural leavening leads to an extension of the resting times so that the dough can rise properly before being baked: to make pandoro, it is therefore necessary to respect the different rising times and add the ingredients in order, little by little. These and other secrets will be revealed by Chef Giovanni Ricciardella from the Cascina Vittoria restaurant in Rognano, who prepared for us his recipe for pandoro with sourdough. The final result will not disappoint you and will reward your efforts: a good pandoro prepared with your own hands is just what you need to impress your guests!
Discover more ideas for the holiday table:

To prepare the pandoro with sourdough, start with the first dough. In the bowl of a stand mixer, pour the water 1, sugar 2, and egg yolks 3.

Add the sourdough starter in pieces 4, ensuring you take the central part, discarding the drier surface. Attach the paddle 5 and run the machine just long enough to combine the ingredients 6.

Add the flour 7 and knead at medium speed for 5 minutes. Once you have a smooth dough, switch to the dough hook 8 and continue until the gluten structure has formed; this will take about 15-20 minutes. To check if the dough is ready, take a small piece with greased hands and stretch it to verify its elasticity and strength 9.

At this point, add the cold butter from the fridge cut into cubes 10 and let it incorporate at the same speed. Once the butter is well absorbed, stop the mixer 11 and grease your work surface with some butter 12.

Transfer the dough onto the work surface 13 and give it a few folds using a scraper 14, then form a ball and place it in a tall, narrow, slightly buttered container 15, large enough to hold 3 times the dough's volume. Also, grease the surface of the dough with butter. Place the container in the oven turned off with a glass of hot water and the light on, and let it rise for at least 14 hours at a temperature of 82°F-86°F. Once tripled in volume (you can mark the starting level with a marker on the container), put it immediately in the fridge until the next morning (about 8 hours). The fridge will not stop the fermentation of the dough, it will only slow it down, so if after 4-6 hours or after 8 hours you see that the dough has quadrupled or is spilling out of the container, it must be worked immediately.

In the meantime, prepare the emulsion for the second dough: in a bowl, pour the softened butter 16, cocoa butter, acacia honey 17, and sugar 18.

Flavor with orange paste 19 and mix with a spatula. Now incorporate the egg yolks 20 and salt 21.

Lastly, add the vanilla bean seeds 22. Mix until you have a homogeneous mixture 23, cover with plastic wrap in contact 24, and store in the fridge. Let it rest overnight along with the dough.

Retrieve the first dough from fermentation in the fridge 25, place it again in the stand mixer with the hook 26 and add the flour 27. Start at minimum speed to re-form the gluten structure; it will take about 30 minutes.

After this time 28, turn off the machine and check the elasticity by pulling a small piece with greased hands, as previously done 29. Turn the mixer back on and add the cold emulsion in 3 parts to gradually incorporate it 30.

When the dough is well incorporated, pour it onto the buttered work surface 31. Give a few folds and form a loaf 32. Let the dough rest for 15 minutes on the work surface without covering it; in this way, a thin crust will form that will retain the gases during leavening 33.

At this point, round the pandoro, always with hands slightly greased with butter 34: rotate it on the work surface with the palm of your hands, being careful not to lift it. Then take the dough in your hands with the help of a scraper and squeeze it on one side to remove air. Butter and dust with powdered sugar a 2 lbs pandoro mold 35, then place the dough inside 36.

Cover with plastic wrap 37 and let rise for 8 hours in the turned-off oven, always with a glass of hot water and the light on. When the dough reaches the edge of the mold 38, make holes with a toothpick at the star points and a few holes in the center; this operation will allow the release of gases retained during leavening, thus achieving a compact crumb. Bake in a static preheated oven at 300°F for 50-55 minutes, placing the mold on the first rack from the bottom; the pandoro will reach a height of about 9 inches and should have a nice hazelnut color. Remove the pandoro from the oven and let it cool in the mold for 90 minutes, then unmold it 39.

Once unmolded 40, sprinkle the pandoro with powdered sugar 41: you can place the pandoro in a bag and shake it to evenly distribute the sugar. The pandoro with sourdough is ready to be served 42!